Pages

Showing posts with label kids crafts. Show all posts

Tuesday, December 6, 2016

Happy 4th birthday - Dora and Diego party

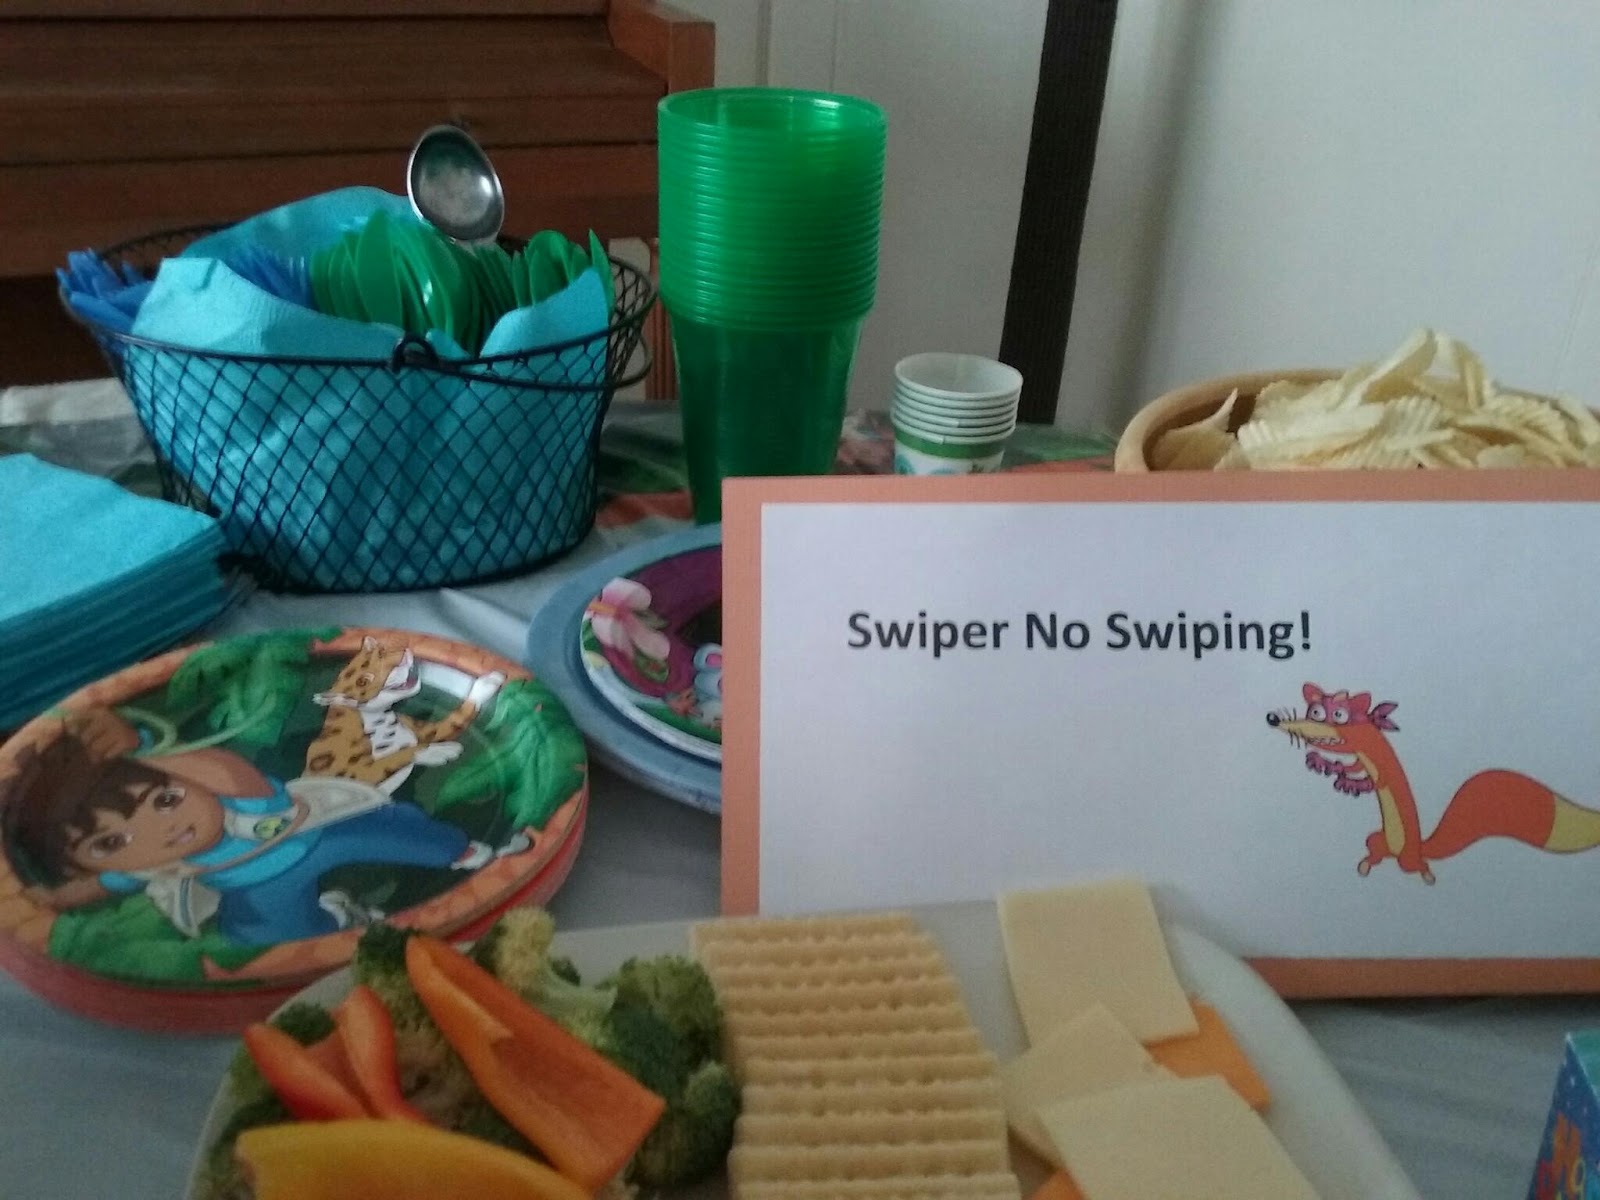
Little Guy turned 4 just the other day! Past years had a Sesame Street Party (2nd), a Thomas & Friends Party (3rd) and this year we decided to have a Dora and Diego party (they are his current favorites as written in this post). I found lots of inspirations on Pinterest, such as the "Swiper No Swiping" sign (to which I added Swiper's picture myself) and the favor bags that looked like Rescue Pack. I originally planned to make Backpack favor bags for the girls and Rescue Pack for the boys but unfortunately I couldn't find orange bags that were the right size. I used this template for the favor bags. Instead of printing in colored paper, though, I had Little Guy color the eyebrows and the mouth, adding a little personal touch from the birthday boy. The colors were not perfect but I liked it better. It turned out to be a really good idea to have him on board to prepare for the party. We had a lot of fun together and Little Guy seemed to have gotten more excited about his upcoming party. One thing I couldn't make it work was this idea where you draw eyes and a mouth on a cheese stick to make it look like the map. I couldn't find a pen that could write on a cheese stick wrapper. Too bad. It looked really cute on the picture on pinterest. And I used this recipe for the cupcakes, which were frosted with whipped cream with some orange and green sprinkles to match the theme.

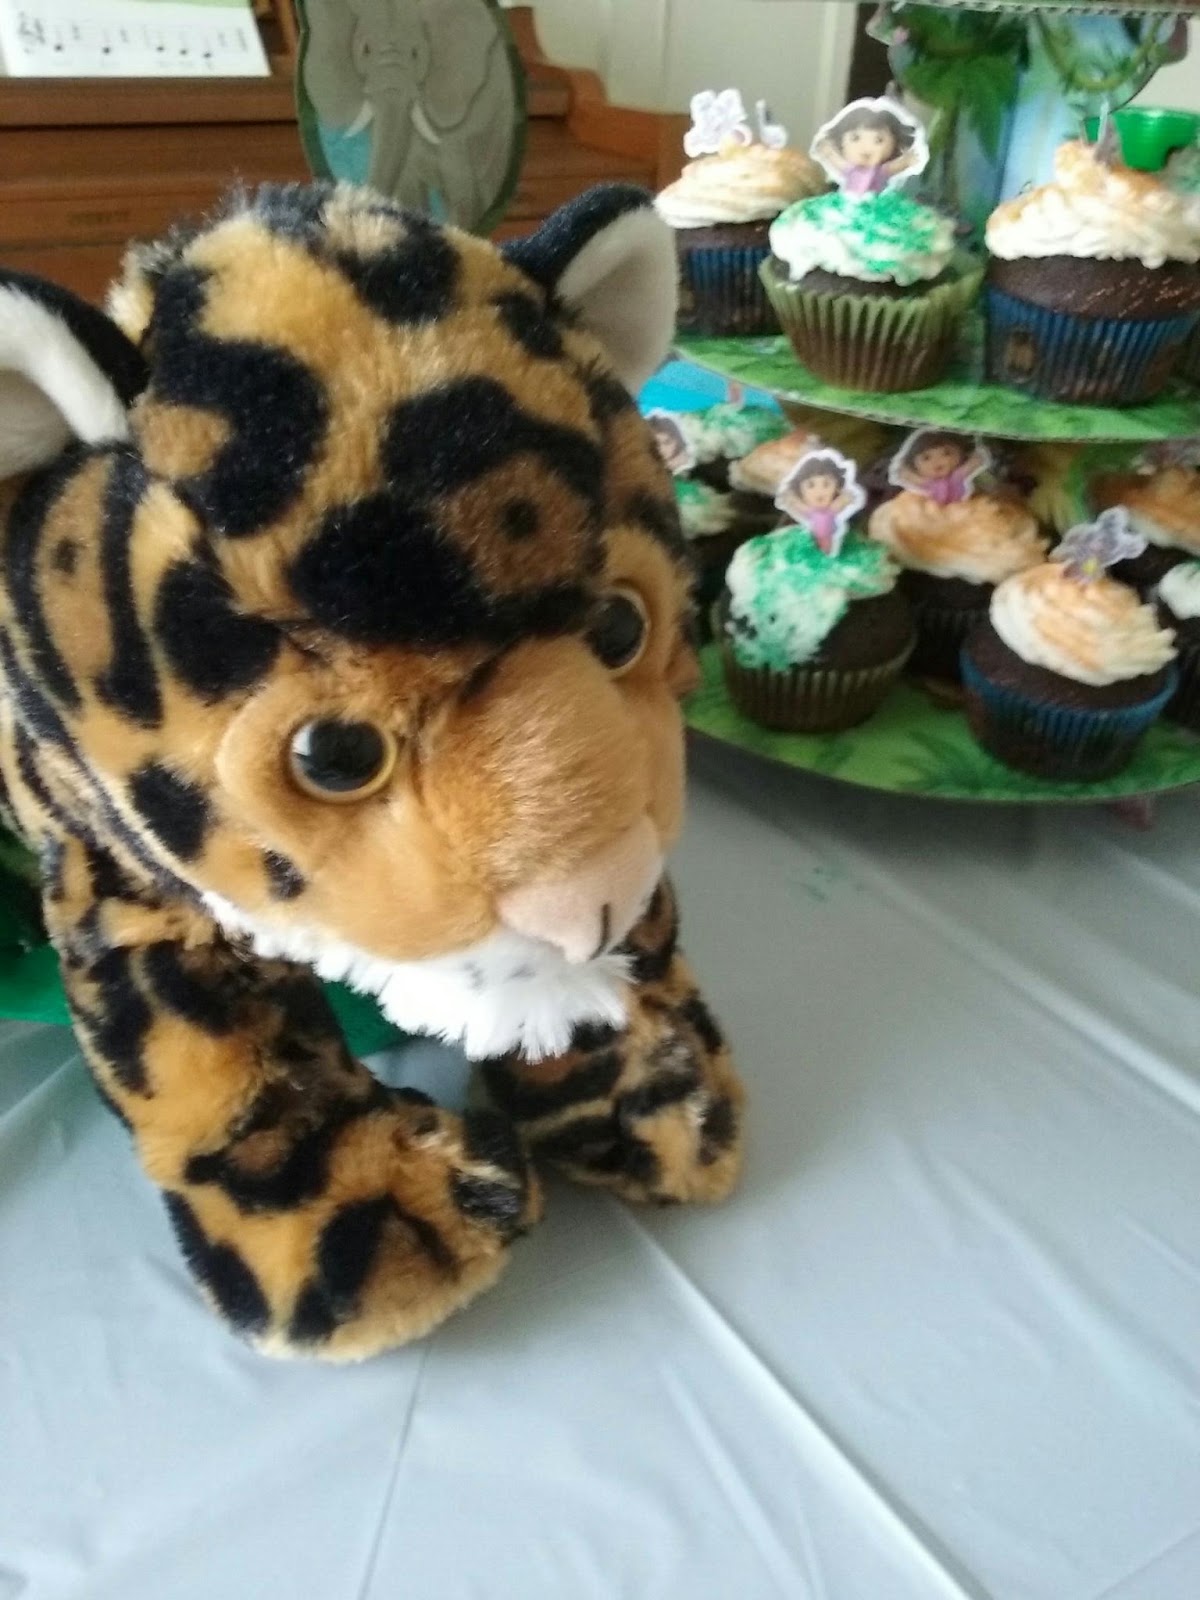
The baby jaguar on the table was a present from us, like Diego's best friend :)

I prepared a few activities for the kids, suc as Dora & Diego masks, bubbles, origami paper, Dora & Diego coloring pages. One of these coloring pages, I rolled it and draw eyes and a mouth to make it looke like the map and put it in the favor bag. We also had some toy animals hidden in a room and gave the kids some toy telescopes (like the "spotting cope" that Diego has) to find the animals. But alas they didn't really play with these things, preferring to play with Little Guy's other toys they found in the play room. Oh well, as long as they had fun, that all matters. 

All in all we, both the kids and the parents, had a great time. Little Guy's so pround of being a big boy that he tells everybody he meets that he's four years old now. So cute. 

I compiled more ideas and inspirations for a Dora and/or Diego party on my "birthday party ideas" board on pinterest, some of which I didn't use for our party but still seem like a great idea. Please check it out if you're interested.

Tuesday, August 9, 2016

Origami Pikachu And Pokeball Key Chains

Do you play Pokemon GO? I was curious what this hype was and thought I might try it if Little Guy liked it too. To make things more fun, I showed him the first episode of Pokemon and he was immediately charmed by Pikachu. We are not as addicted to the game (I think) but I thought it's a fun thing to do together when we are out and about. And he learned a new concept like "evolve" from this game. Anything is a learning opportunity, right?

So when I came across two craft activities involving Pokemon, I had to try. First we made these Pokeball key chains
Then we made origami Pikachu.
Little Guy loved these so much we made several more the next day. We actually like to play a game with these: we place Pikachu on the floor or a table and throw a pokeball at him to see if we can knock him down (or "catch" him like in the mobile game). Both are pretty easy and fun to make and really cute.

Thursday, December 24, 2015

Pipe Cleaner Christmas Ornaments

It's Christmas Eve. We've made Christmas cookies, We've read a few Christmas stories (e.g. Llama Llama Jingle Bells. Cute book). We've watched quite a few Thomas & friends Christmas episodes. And we've made lots of Christmas crafts at the library. Among them, Little Guy liked and was good at making these pipe cleaner ornaments, so I got the materials and we've been making lots more at home. I was impressed that he threaded the beads through with little difficulty and was actually enjoying doing it. This seems to be a good practice for fine motor skills and to learn colors. And the end results are beautiful ornaments. Love it.

Materials
12" Pipe cleaners (need three 6" pipe cleaners for each ornament)
Beads
String (if you hang from a tree)

How to Make
1. Cut a pipe cleaner in half by scissors and make three half pieces (Mama did this in our case)

2. Lay the three half-size pipe cleaners like a snowflake and twist them together at the center to keep its shape (Mama did this too)

3. String some beads

4. If hang from a tree, fold one end a bit to make a loop and put a string

That's it!

To my adult's mind, I thought clear sparkly beads on silver pipe cleaners would make the prettiest ornaments and suggested that we buy clear beads. But Little Guy insisted on colorful solid color ones, so I obliged. It seems Little Guy was right. What he made were most beautiful, if I do say so myself :)

I hope everyone will have a wonderful Christmas/winter holiday :)

Thursday, December 3, 2015

Happy 3 Year Old!

I hope all of you are having a joyous holiday season :)
Our family celebrates one additional event during this fun but busy season, which is Little Guy's birthday! And he turned three! He's so proud he's three now and telling everyone he meets that he's three years old using his three little fingers. so cute.

If you've been following my facebook page or instagram account, it's quite apparent that Little Guy LOVES Thomas and his friends. So naturally this year's birthday theme was set to Thomas and his friends. I found a few Thomas themed cakes on pinterest, but Little Guy liked this one the most so we decided to make one. It turned out really fun and cute! 

Following the original picture, I used graham crackers and mini oreos for the trains to carry the cupcakes, a whole piece for the top base, two quarter pieces to connect the mini oreo wheels. Differently from the original, I used melted chocolate to connect all the pieces (and this was super yummy).
Little Guy's new train buddy, Stephen. Looks like he's quite a popular guy among Thomas fans. I heard a few boys saying "Look! Stephen!" when Little Guy was carrying Stephen while shopping.

For the main meal, I used this train onigiri kit we found on our recent trip to Japan to make some sushi to keep the train theme.
And a couple of train sandwiches, cut out by train shaped cookie cutters.

Little Guy loved his birthday so much that he kept saying "I love my birthday!" for the next few days. We're so happy he liked his birthday party. Happy Happy Birthday Little Guy.

Monday, March 2, 2015

Color Matching Parking Activity Mat

I saw this color matching car mat on Pinterest and I had to try it. Little Guy loves cars and has recently started to get really interested in the color names (like he has to point out the color of every item he sees at a grocery store). So I thought it'd be a great time to try this activity, and happily I was right. And we made it even more fun by making it together (which is why the parking spaces are not neatly lined up).

It's kind of self-explanatory but I used one piece of 12" x 12" scrapbooking paper as a base. I had a piece of map patterned paper so I used it to make streets between the parking spaces (now my paper stash has finally started to pay off lol). I chose a various colors of cardstock according to the colors of the cars Little Guy had and cut into smaller pieces. I think it was 1.5" x 3.5" but don't remember exactly. I put glue on the back of each piece and handed it to Little Guy so he could place it on the base paper. I just felt so thrilled that now we could create something together :)

Little Guy didn't know what this was at first. So I "drove" one of his cars saying "I'm green, where can I park?" and parked in one of the green spaces. After several times, he started to point to the correct color spot. Now he loves it and sometimes even plays this game on his own :)
I'm thinking that when he gets bored with color matching, I'm going to write numbers on the parking spaces to make it a number matching game too. We'll see.

If you're interested in other inspiring educational projects for toddlers and preschoolers that I found on pinterest, please follow one of my pinterest boards "home preschool ideas". 

Sunday, November 2, 2014

Happy Halloween!

oh my goodness. it's been so long since I updated my blog :( I hope you've been great (if anybody's still kindly checking out this blog, haha) and you had a wonderful Halloween.

I was so disappointed I had a cold on the Halloween day and couldn't go around the neighborhood for trick-or-treating. Ugh. I had been thinking about and getting ready for this year's Halloween months before and all it took was a little cold to ruin the fun. 

But I somehow managed to go to a Halloween event held nearby. Little Guy became a tiny (but strong) Popeye this year.
I bought the outfit from Spirit Halloween. The shirt didn't have those iconic yellow buttons so I sew them on. The set came with a sailor hat but Little Guy doesn't like hats so of course he didn't wear it. Isn't he still cute though? :)

I, however, made his spinach can. 
I wasn't thinking about making a tutorial so no step-by-step photos. Sorry. But here's what I did. I used a quaker oats container for the base of the spinach can. I wrapped the container with a sheet of green felt. The felt sheet wasn't long enough to go around the container so it looked a bit patchy in the back but that wasn't too bad. And then I drew some spinach leaves on a piece of green felt, cut them out and glued them on. And finally I stitched the word "spinach" on a piece of white felt and glued that on the green can.
Little Guy was too small to help me with this but I can see that this will be a great Halloween project for older kids. Isn't it fun to collect candy in a spinach can? :)

I've also made my Olive Oyle costume.
I put a piece of felt over the collar of the red shirt and drew a line following the collar line of the shirt. Cut the neckline open then drew the wavy collar freehand on the felt with disappearing ink pen, which I used to cut to make the wavy collar. I taped the yellow line with washi tape on the skirt, but unfortunately this came off while I was walking. I probably should've used a different tape.

Happy Halloween!