Pages

Showing posts with label DIY. Show all posts

Tuesday, August 9, 2016

Origami Pikachu And Pokeball Key Chains

Do you play Pokemon GO? I was curious what this hype was and thought I might try it if Little Guy liked it too. To make things more fun, I showed him the first episode of Pokemon and he was immediately charmed by Pikachu. We are not as addicted to the game (I think) but I thought it's a fun thing to do together when we are out and about. And he learned a new concept like "evolve" from this game. Anything is a learning opportunity, right?

So when I came across two craft activities involving Pokemon, I had to try. First we made these Pokeball key chains
Then we made origami Pikachu.
Little Guy loved these so much we made several more the next day. We actually like to play a game with these: we place Pikachu on the floor or a table and throw a pokeball at him to see if we can knock him down (or "catch" him like in the mobile game). Both are pretty easy and fun to make and really cute.

Sunday, November 2, 2014

Happy Halloween!

oh my goodness. it's been so long since I updated my blog :( I hope you've been great (if anybody's still kindly checking out this blog, haha) and you had a wonderful Halloween.

I was so disappointed I had a cold on the Halloween day and couldn't go around the neighborhood for trick-or-treating. Ugh. I had been thinking about and getting ready for this year's Halloween months before and all it took was a little cold to ruin the fun. 

But I somehow managed to go to a Halloween event held nearby. Little Guy became a tiny (but strong) Popeye this year.
I bought the outfit from Spirit Halloween. The shirt didn't have those iconic yellow buttons so I sew them on. The set came with a sailor hat but Little Guy doesn't like hats so of course he didn't wear it. Isn't he still cute though? :)

I, however, made his spinach can. 
I wasn't thinking about making a tutorial so no step-by-step photos. Sorry. But here's what I did. I used a quaker oats container for the base of the spinach can. I wrapped the container with a sheet of green felt. The felt sheet wasn't long enough to go around the container so it looked a bit patchy in the back but that wasn't too bad. And then I drew some spinach leaves on a piece of green felt, cut them out and glued them on. And finally I stitched the word "spinach" on a piece of white felt and glued that on the green can.
Little Guy was too small to help me with this but I can see that this will be a great Halloween project for older kids. Isn't it fun to collect candy in a spinach can? :)

I've also made my Olive Oyle costume.
I put a piece of felt over the collar of the red shirt and drew a line following the collar line of the shirt. Cut the neckline open then drew the wavy collar freehand on the felt with disappearing ink pen, which I used to cut to make the wavy collar. I taped the yellow line with washi tape on the skirt, but unfortunately this came off while I was walking. I probably should've used a different tape.

Happy Halloween!

Monday, December 30, 2013

Our Christmas 2013

wow. it's already the end of the year! I know we all are thinking about the new year's celebration (I'm busy preparing too!) but today I thought to share what we did on our Christmas. I wanted to write this post earlier but well... it's better late than never :)
My gingerbread cookies because hubby said Christmas without gingerbread cookies is not Christmas. haha. The cookies and the icing are vegan (the recipe is from the Joy of Vegan Baking book). I don't know about the color pens and the candy cane decorations I used to decorate the cookies. I bought them at Jo-Ann. The color pens are so much fun! It's easy to decorate and write on cookies.
I made apple pie instead of cake. Although the pie sheet is a store-bought one, I used a recipe from the Vegan Pie in the Sky for the filling. This pie paired with ice cream really well.

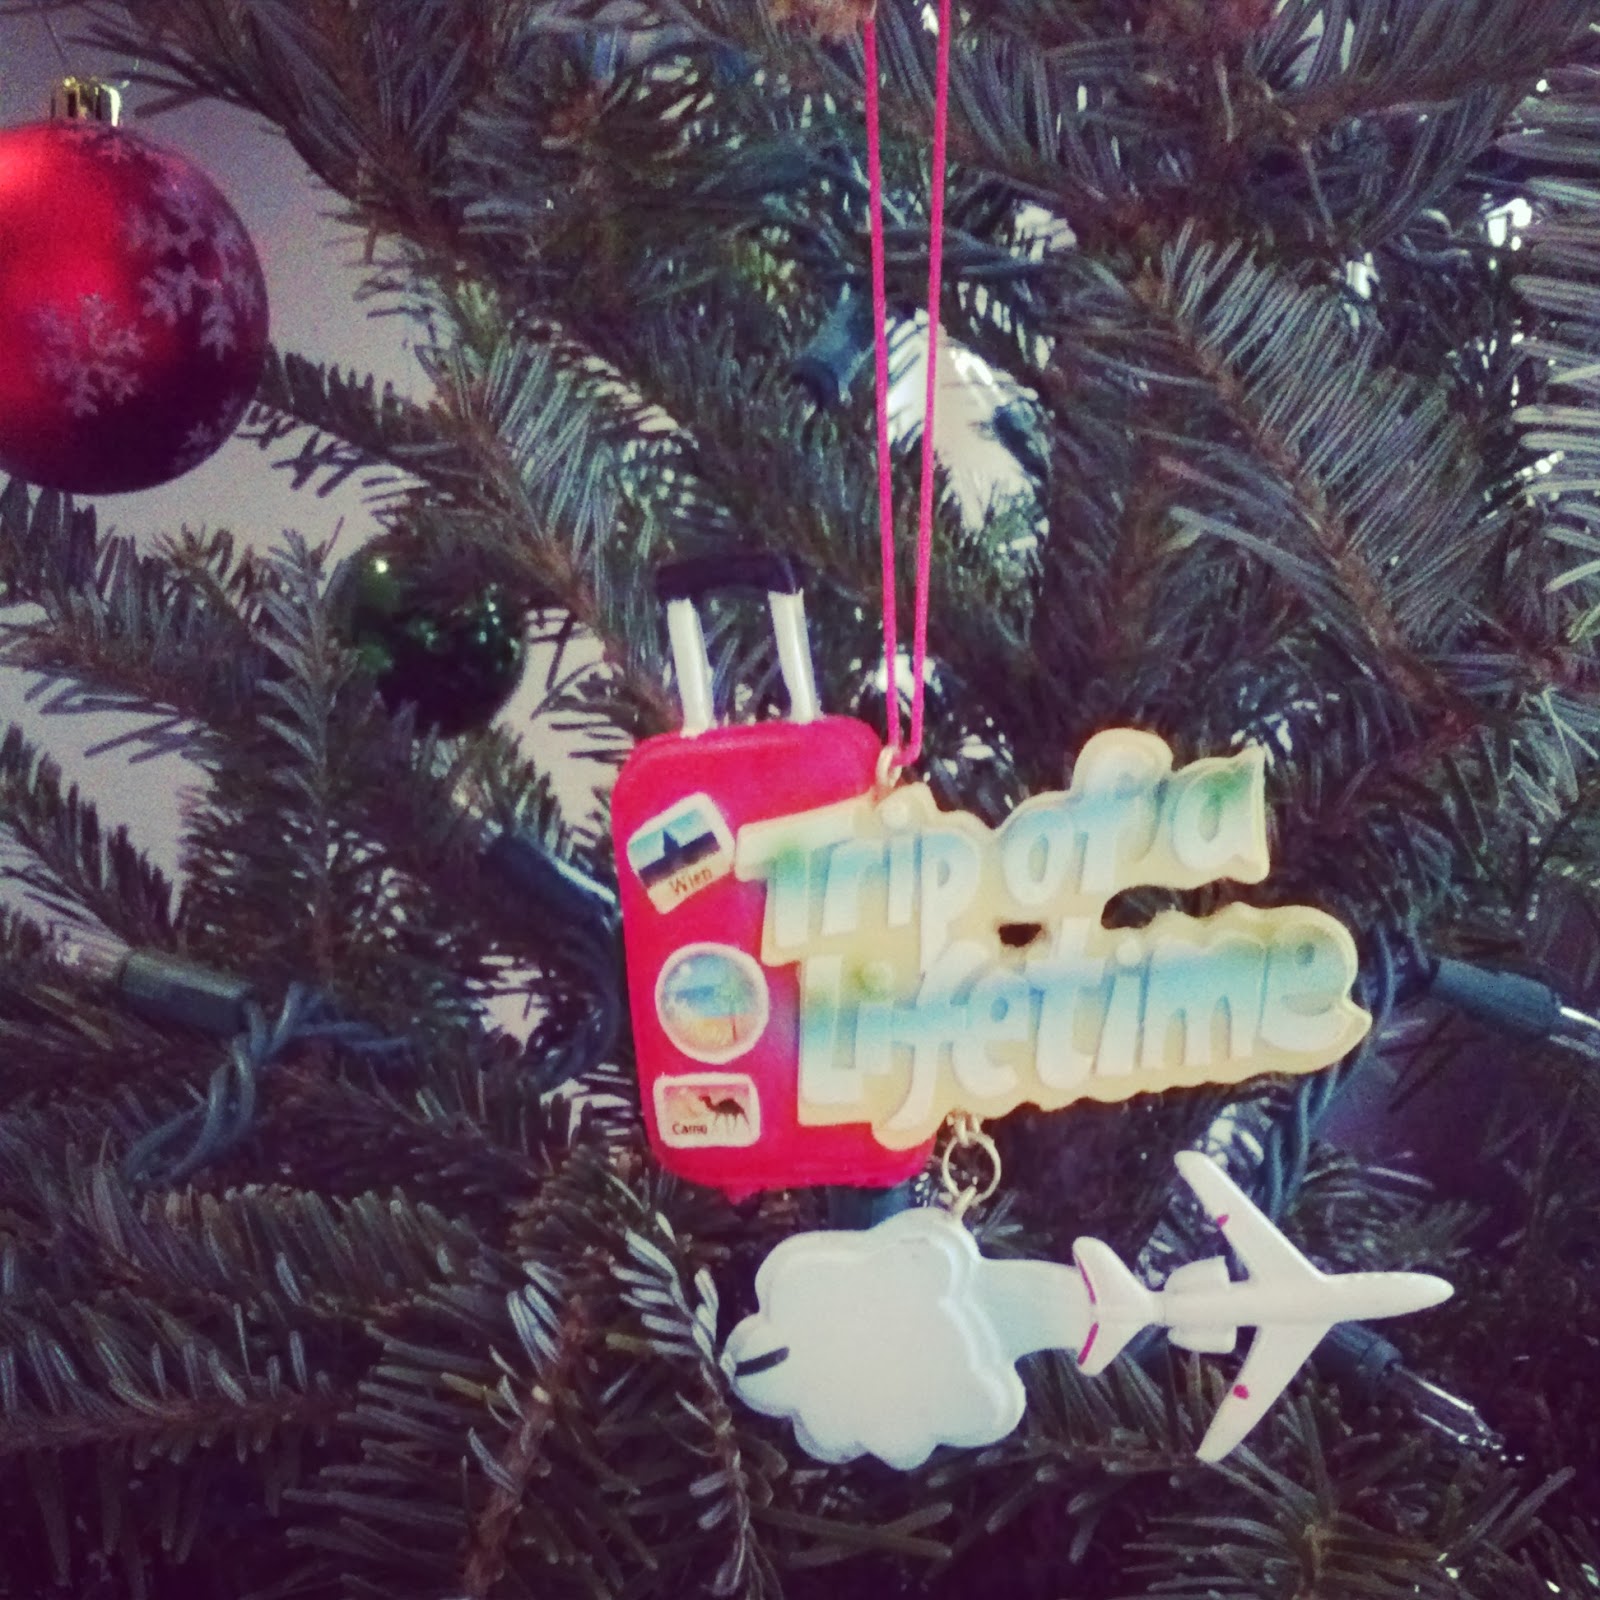
Each year, we buy an ornament that represents us for that year, although this year we actually picked two.
We chose this because our son loves his bath time :)
And this, hoping to make a grand trip to Japan in the near future.
I made this from our last year's Christmas tree. Husband cut the tree and dried it for a while. I wrote that this was Junior's first tree and attached a string using a glue gun. I saw this idea somewhere on the Internet and thought it was really a good way to remember a Christmas tree that had some meanings like first Christmas together, baby's first, kitty's first etc.
I hope you all have a wonderful year. See you in 2014!

Friday, November 1, 2013

Jr's First Trick-Or-Treating

I hope you all had a fun Halloween, if you celebrate! It was Jr's first Halloween and he was oh so cute in his costume. Husband and I, both being fans of making things, wanted to make his costume too but we were just so busy during the month of October that we couldn't manage it. Instead, we just picked up a Superman costume at a party store. But that's ok cause he was freaking cute :)

I realized that we didn't have a container to collect Halloween candy so I whipped up this little paper bag on the day of Halloween.
I used 12 x 12 pattern paper and stamped those bats and the "Happy Halloween" phrase (the stamps are from the Halloween and Thanksgiving stamp set from Stampabilities). I love this font! The bag wouldn't be big enough for a typical trick-or-treating but since he was only a baby I figured this would be big enough for this year.

Unfortunately, the total amount of candy was so heavy that the bag fell apart at the end :( Well, that may be good news, I guess.

Wednesday, October 16, 2013

DIY air freshener

With the smell of LO's diaper pail getting stronger (ugh), I needed a good air freshener. I could easily buy one of those at a store but I gave a try on a DIY air freshener I found on pinterest. And it works great!

It's super easy and inexpensive. Basically what you need is a container, baking soda and essential oil. I actually used fragrance oil I found at Hobby Lobby to cut more cost (although essential oil would probably be better). So I had to add more than "several drops" called for in the instructions and to leave the lid open, but it does work. It makes your room smell fresh but is not overpowering like store-bought ones.

I believe there are more instructions online but the two I found on pinterest are:

and